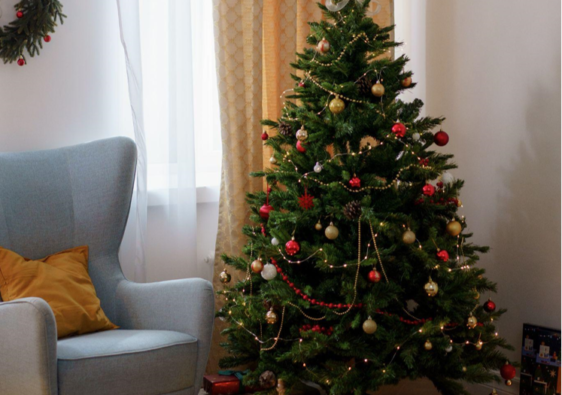
Decorating the Christmas tree is one of the most exciting parts of the holiday season, whether you use a real, artificial, or “snow” covered tree. You can put your imagination to the test with our list of festive handmade ornaments. These beautiful and simple homemade Christmas decorations can be used year after year.
You can revitalize old wooden ornaments by painting them with bright designs, or you can use salt dough to fashion festive figures like a holly tree, a gingerbread man, or a reindeer. Make decorations out of yarn, twine, or even pine needles to repurpose them from around the house. Some of these works of art can serve double duty as both kid-friendly holiday crafts and eye-catching front door ornaments.
It’s time to get ready to decorate your home for the holidays by making one or more of these DIY projects for your Christmas tree. These Christmas ornament storage ideas will safeguard your new collection and make the annual ritual of decorating a breeze for years to come.
Ornaments with Fringe
To spice up your holiday season, try this simple trick: To spruce up worn ornaments, try wrapping them in fringed ribbons of various widths and textures. Wrap a glass ornament in ribbon (between half an inch and an inch in width) using hot glue. The ribbon can be overlapped if you continue to glue rings of ribbon about 1/2 in. higher than the previous ring. Finish off the tinsel fringe by trimming the end. If you’re worried about leaving any blank spots on your ornament, paint it the color of your ribbon first.

Ornaments for the Trees Made of Marbleized Nail Polish
To make the loop top, you’ll need ribbon and miniature screw eyes in addition to the miniature trees and green nail polish. Put two drops of each nail polish into a cup of ice water. After dipping your wooden tree into the solution, let it drain upside down on a towel. After that, you can stand it up to dry.
Cute Christmas Decorations Made of Three Dimensional Paper
Add depth and style to colored cardstock by folding it in different ways. You’ll need five paper strips measuring between 1.25 and 1.5 inches in length (two 10 inches long, two 7 inches long, and one 5 by 1.2 inch long) to make this ornament. Then, at 1/4″ from both ends of each strip, punch a hole. Place the smallest paper in the middle of the stack, followed by the medium-sized strips, and finally the largest strips. Put all the strips in a row at one end and secure them with a knot using the string or wire that you threaded through the holes. To fan out the strips, repeat the process on the opposite end. The ornament will be even more eye-catching if you attach tassels or beads to its base.
Decorations Made from Brush Strokes
This abstract method can be used to give plain plastic or glass ornaments a more artistic vibe. You should start by taking the ornament’s top off so you can use it as a canvas for your acrylic or spray paint. Next, experiment with different sized and colored paintbrushes to make striking designs. The last step is to replace the cap and adorn it with a ribbon.